More Snacks Recipes

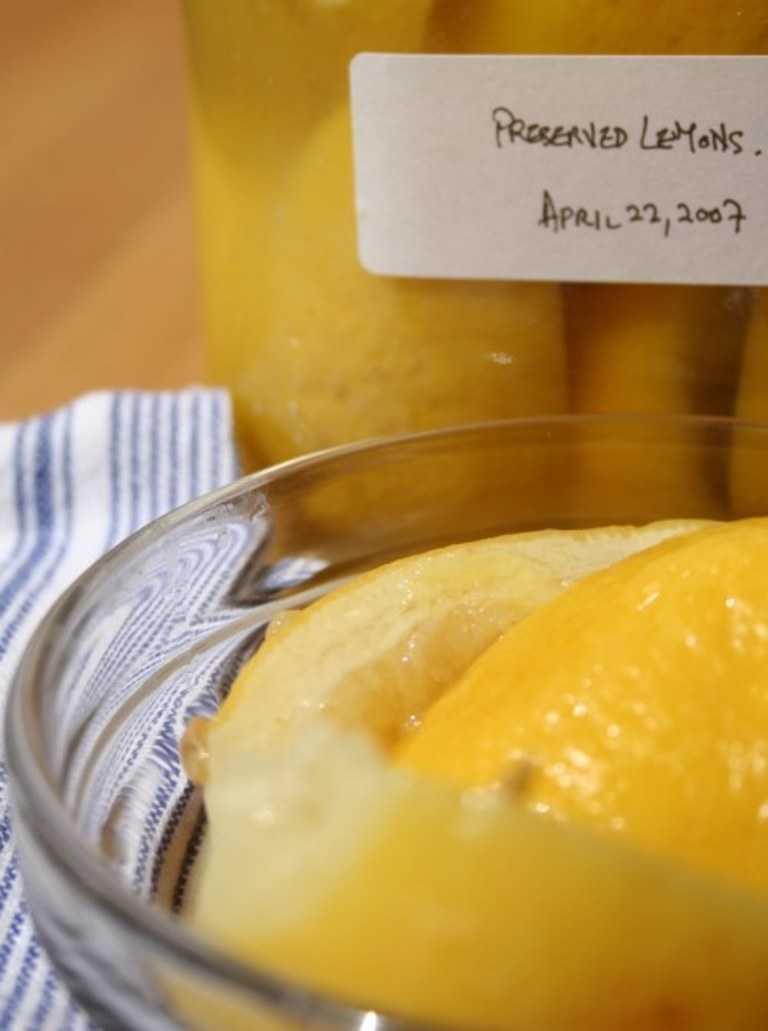
Preserved Lemons
Ingredients
- Lemons (Meyer lemons are generally the favoured variety because of their thin skin, but any lemons will do. Organic is best, as you don't want treatment chemicals messing with the preserving brine, but if you use commercial lemons just make sure you scrub and dry them first.)
- Salt (A decent quality sea salt is best, but you don't have to use anything too premium. Don't use iodised salt or rock salt.)
- Mason Jar or other preserving jar, sterlised by either running through the dishwasher, boiling or using a commercial sterlising solution.Instructions
I always used to skip past preserved lemon recipes. Having never tried preserved lemons before the concept never really appealed to me. Salty lemons? Why?
Last month I was strolling through my local supermarket and noticed big bags of organic lemons on sale. I picked up a few bags and decided to give preserving lemons a try. I've gone for basic preserved lemons without adding any spices. I don't think they're necessary but I might try that at some later stage.
If you've never tried preserved lemons before, do yourself a favour. I was absolutely amazed. They have a soft, luxurious texture and the perfume is really quite unique. I now have two big jars left so expect a slew of possibly ill-considered preserved lemon recipes for me in the next few months.
1. Wash, scrub and dry your lemons. trim the ends, making a flat base at either end around the size of a small coin.
2. Quarter the lemons to within a half inch of the base, leaving them attached. I also cut some of the lemons through into quarters so that they can take up the spaces in the jar that a whole lemon won't fit into. I haven't noticed any difference in the taste or texture of the different cuts. Leave some lemons aside and juice them. You will need this juice to top up the jar to fully cover the lemons in the brine.
3. Sprinkle a handful of salt into the base of your jar and start adding the lemons. tuff as much salt into the cavities of the attached lemons as the lemons will hold and press salt onto the flesh of the fully cut quarters. As you add them to the jar, squash them down to release the juices. Use the fully quartered lemons to take up any smaller spaces in the jar, adding more salt around the lemons as you add them.
4. When the jar is full, top with another handful of salt and add additional lemon juice to make sure that all the lemons are fully covered. Leave an air space at the top of the jar. Seal it up and leave out of the sun for at least 3 weeks before using. They are better after a month or so and they apparently should keep out of the fridge for about 6 months.
As the lemons release their oils to the brine, it will take on a thick, sticky texture. Some people report a lacy white film around the lemons. I haven't noticed anything like that but it is apparently quite harmless and can simply be rinsed away.
When ready the rind is soft and comes away from the flesh and pith very easily. This is the part you're mainly after, although the flesh is quite tasty also and could be used for some purposes. The pith isn't really good for anything. To use the lemons, just take them out of the jar with a non-reactive utensil and rise under cold water to wash away the brine. Use a spoon to scoop out the flesh and pith.
Preserved lemons are a staple in North African cooking and are used in tagines and stews mainly, but stay tuned for some other recipes. Think of them like brined olives, as they are similar in saltiness and texture.
I am seriously in love with these lemons at the moment. I will confess to just eating them as is, but I think you could use them just about anywhere. Salads, tagines, sauces, roasted meats... possibly even martinis?